Microsoft SharePoint is a web based data management, data access, and collaboration tool.
- Accessing SharePoint is done through a web browser.
- Access to data is gained through sites on SharePoint.
- Documents and files are stored in sites.
- Documents can be checked out to enhance collaboration (preventing editing by others while checked out)
- SharePoint sites can be document storage sites, wikis, contain apps, or be a blog.
SHAREPOINT ONLINE AND SHAREPOINT ENTERPRISE
There are two types of SharePoint, an enterprise version that is installed on a company network and an online SharePoint. A license for SharePoint online can be obtained for $5.00 per month here: https://products.office.com/en-us/compare-all-microsoft-office-products-b?tab=2&OCID=AID737190_SEM_oro6ARR5&MarinID=soro6ARR5|267103473824|%2Bsharepoint%20%2Bonline|b|c||51591213357|aud-312771920789:kwd-20169365514&lnkd=Google_O365SMB_App&gclid=EAIaIQobChMI5bv7kuHO4QIVhiSGCh1yhA9YEAAYASAAEgLPMPD_BwE
ADVANTAGES
There are advantages to using SharePoint online. Some of these are:
- Low cost of entry for a small business or individual.
- Microsoft’s data storage reliability and backup
- No need to build out a SharePoint server farm (a collection of servers that support a SharePoint site)
- Users can be set up with Single Sign On, Active Directory Synchronization, or distinct credentials applicable only to the SharePoint site.
DISADVANTAGES
The primary downside to the SharePoint online version is the internet speed/bandwidth available to the users.
FOCUS
The focus of this website will be on installing SharePoint 2019 (enterprise) on a server and showing some examples of how SharePoint can be used.
BASIC REQUIREMENTS
Prior to installing SharePoint 2019 enterprise version, the following requirements need to be met:
- A network server running Windows Server 2016 or 2019.
- A minimum of Active Directory 2003 native forest and domain functional level.
- Web Server Internet Information Services (IIS).
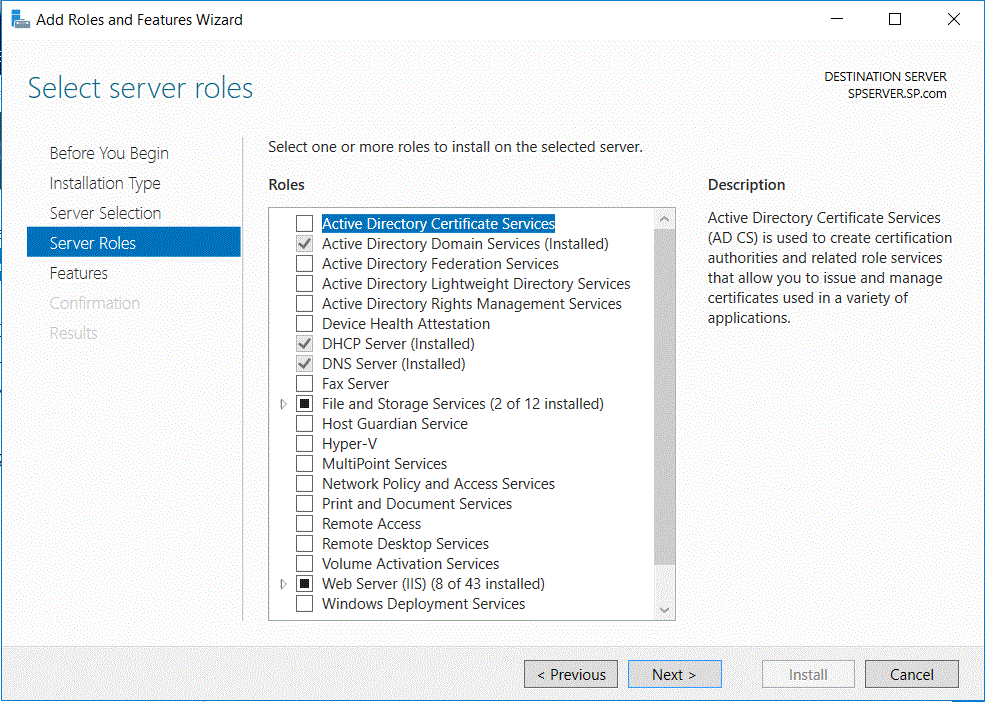
- Web Server (IIS) is added via the Server Manager as a Role-based or Feature-based Installation.
- Microsoft SQL Server 2016 or 2017.
- Recommend installing Microsoft SQL Server Management Studio 17 for a GUI based SQL server management tool.
- The SharePoint prerequisite installer needs to be run prior to installing SharePoint. It installs the following programs:
- Microsoft Identity Extensions
- Microsoft Sync Framework Runtime v1.0 SP1 (x64)
- Windows Server Appfabric
- Cumulative Update Package 7 for Microsoft AppFabric
- Visual C++ Redistributable Package for Visual Studio 2012
- Visual C++ Redistributable Package for Visual Studio 2017
- Microsoft WCF Data Services 5.6
- Microsoft Information Protection and Control Client
- Microsoft .net Framework
- SharePoint Server minimum requirements for a Single Server Farm are 16 GB of RAM, 4 64-bit cores, and 80 GB for the system drive and 100 GB for a second drive.
This is a screenshot of the IIS role to be added.
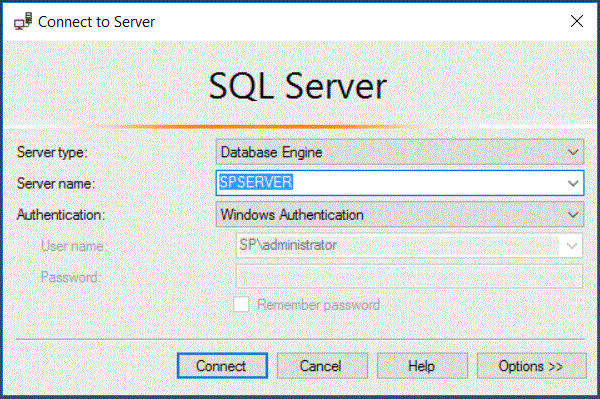
This is a screenshot of connecting to the SQL server that SharePoint will use.
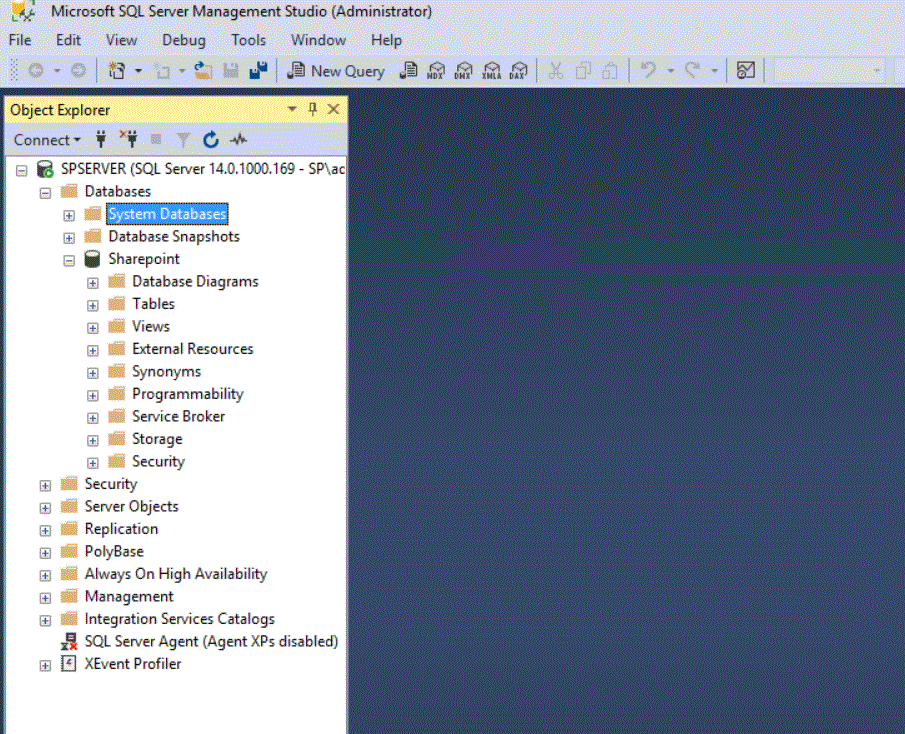
This is what the SPSERVER looks like in the Microsoft SQL Server Manager Studio prior to SharePoint being installed. The Sharepoint database shown here was a manual database created by me for experimentation. It has no connection to SharePoint.
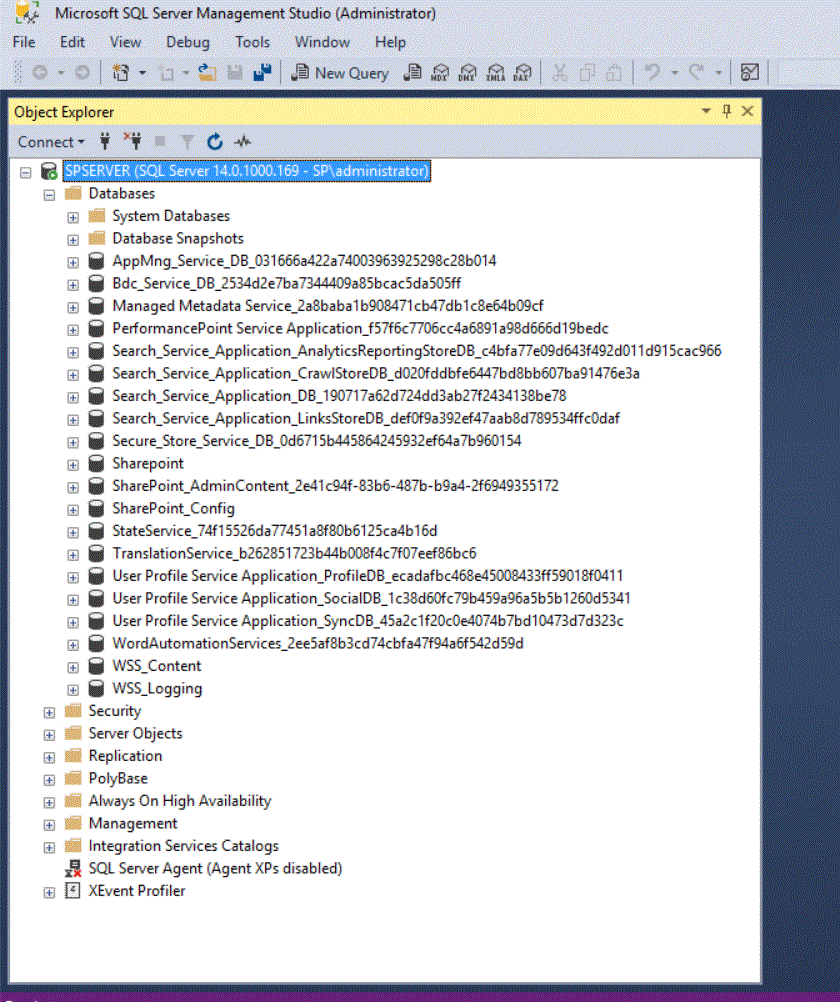
These is a screenshot of all the databases created in the SPSERVER after Sharepoint has been installed.
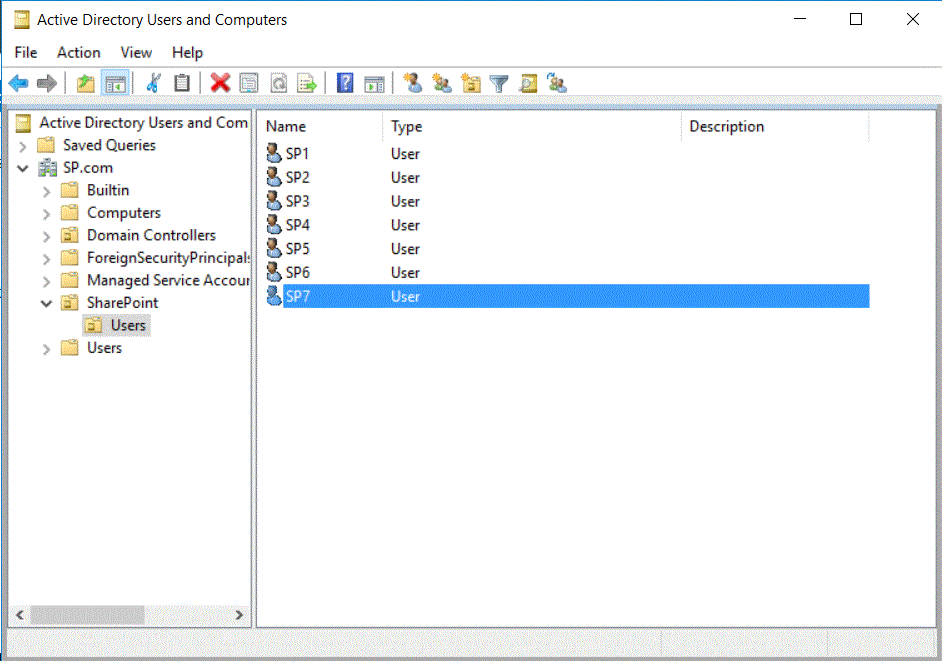
Seven users have (SP1 through SP7) have been created in the Organizational Unit (OU) Users in the SharePoint OU. SharePoint will integrate the Username and Password data automatically.
INSTALLING SHAREPOINT
With the basics complete, SharePoint can be installed on the network server as follows.
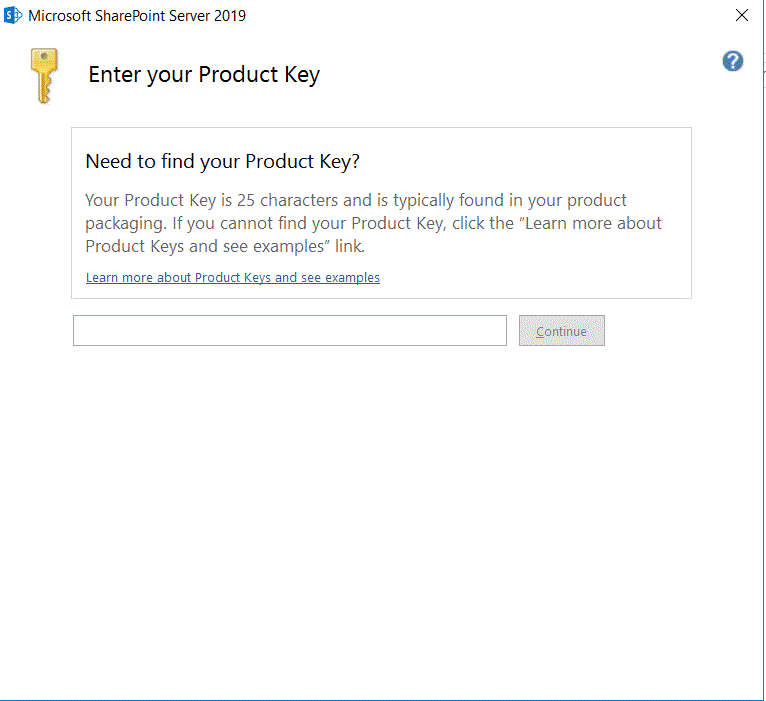
After clicking setup, a prompt for the product key will appear. Enter the product key.
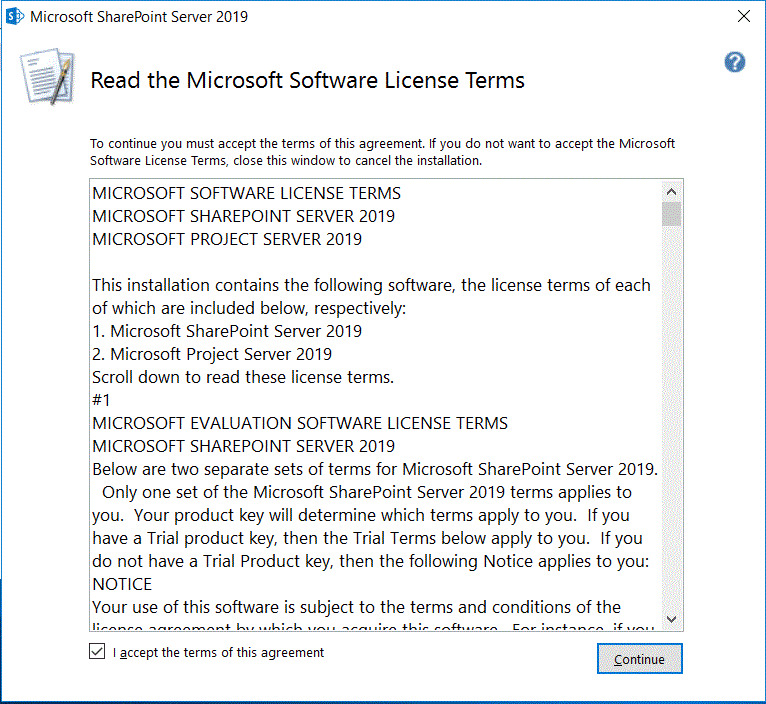
Agree to the software license terms.
Choose the file location to install SharePoint server.
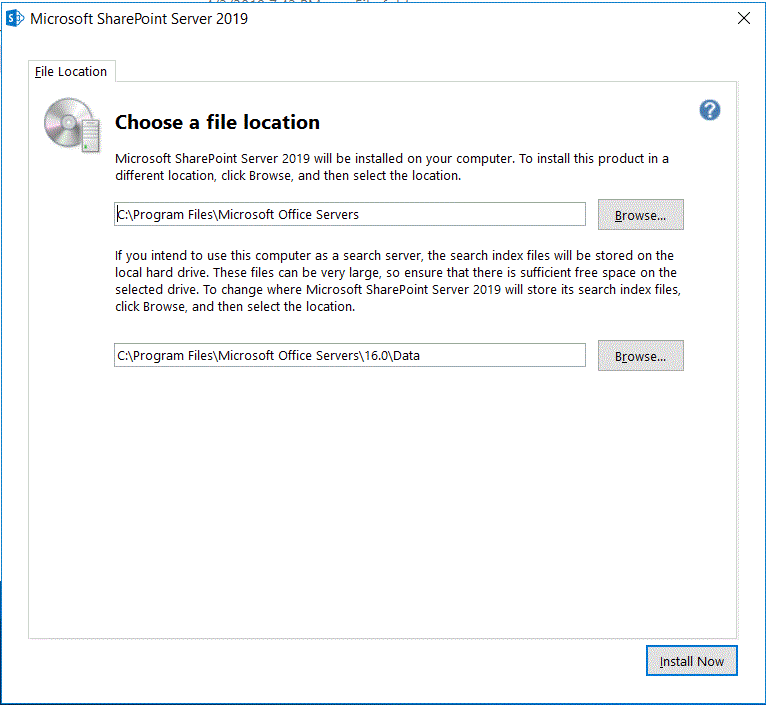
After the initial installation of SharePoint is complete, the installer prompts to run the configuration wizard to complete the configuration of the SharePoint server. After clicking the close button, the system will automatically reboot.
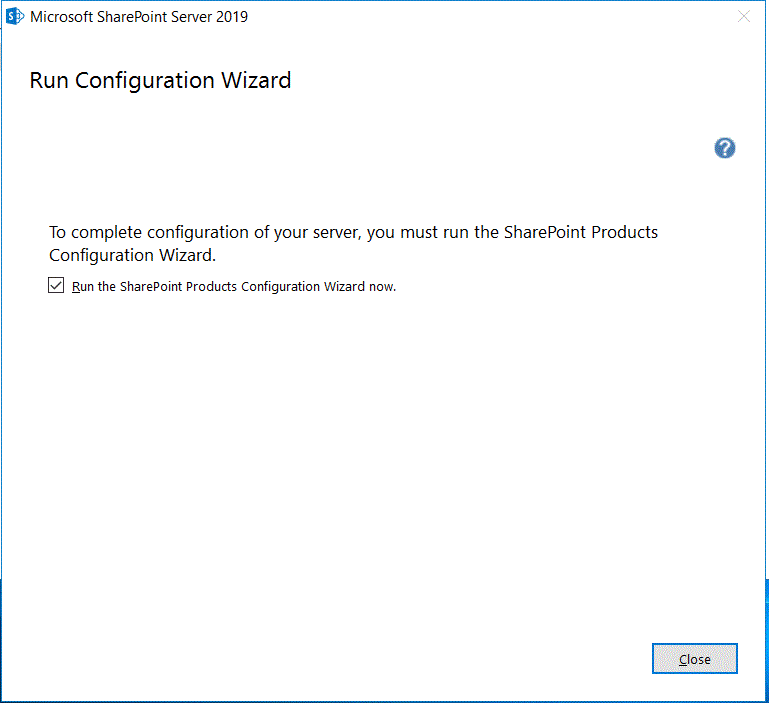
After rebooting, the SharePoint Products Configuration Wizard opens automatically.
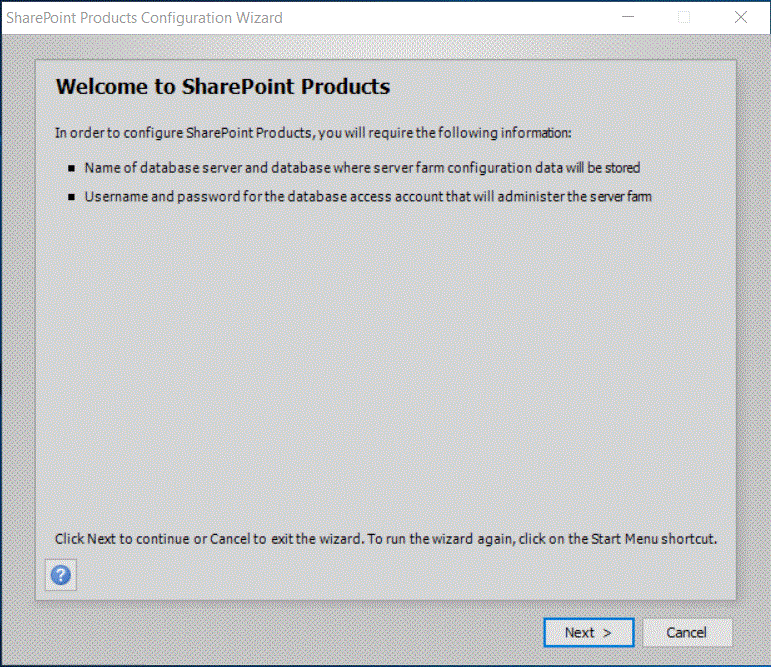
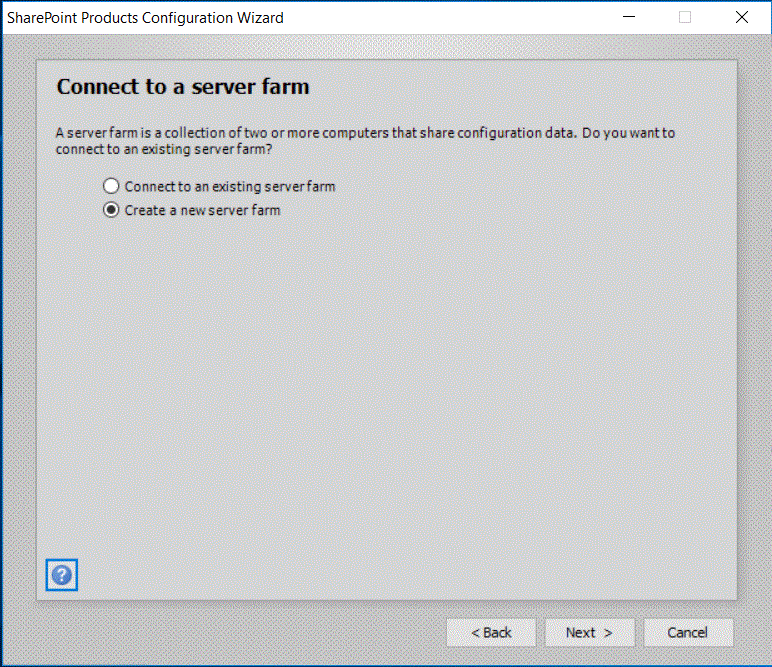
At the prompt that follows, select Create a new server farm.
Enter the database server created when Microsoft SQL Server was installed. Add the Username and password information.
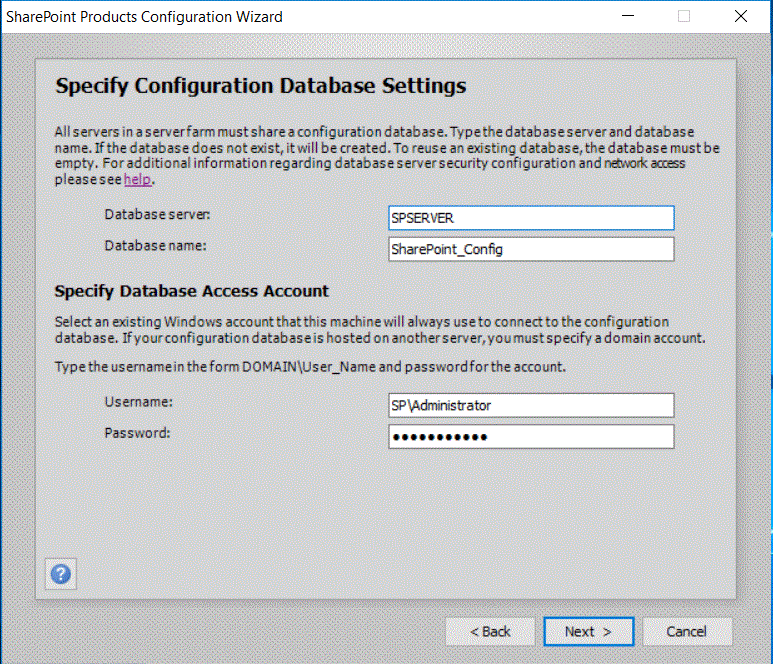
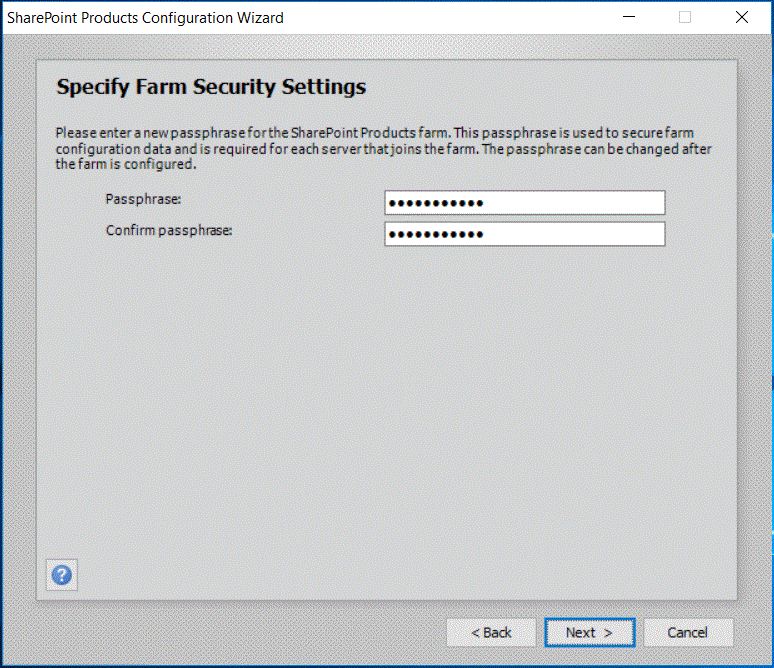
Enter a passphrase for the SharePoint Farm Security Settings.
After entering the passphrase, a prompt will appear to specify the server role. For this application, select the Single-Server Farm role.
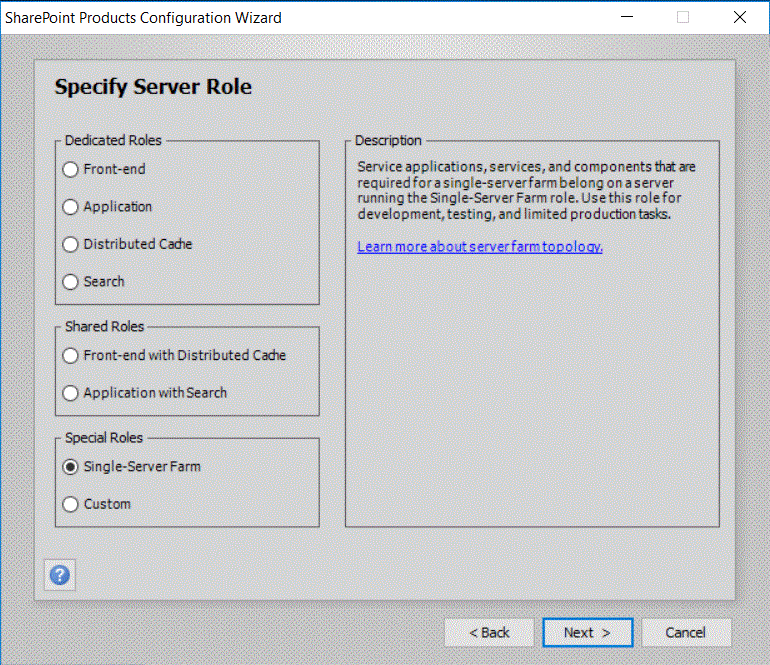
SERVER ROLES EXPLAINED
- Front-End: A web server that processes web page requests and returns the data.
- Application: A server that runs applications such as office applications and Index and Search services.
- Distributed Cache: Manages storing data across multiple servers to improve performance.
- Search: Builds an index of key words and phrases of site content then applies the index to user searches.
- Single-Server Farm: Performs the server tasks above all on one server.
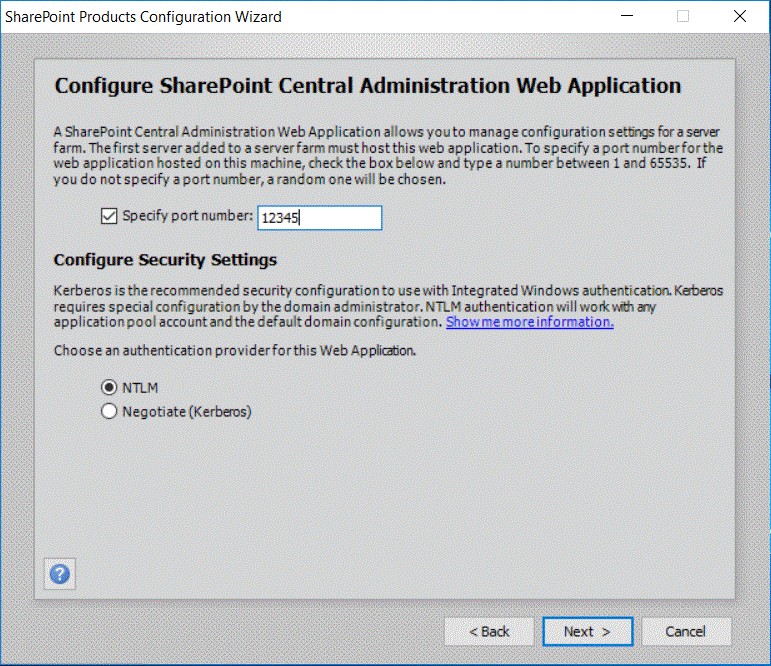
The next prompt is for Sharepoint Central Administration Web Application and security settings. Enter a port number and select the authentication provider.
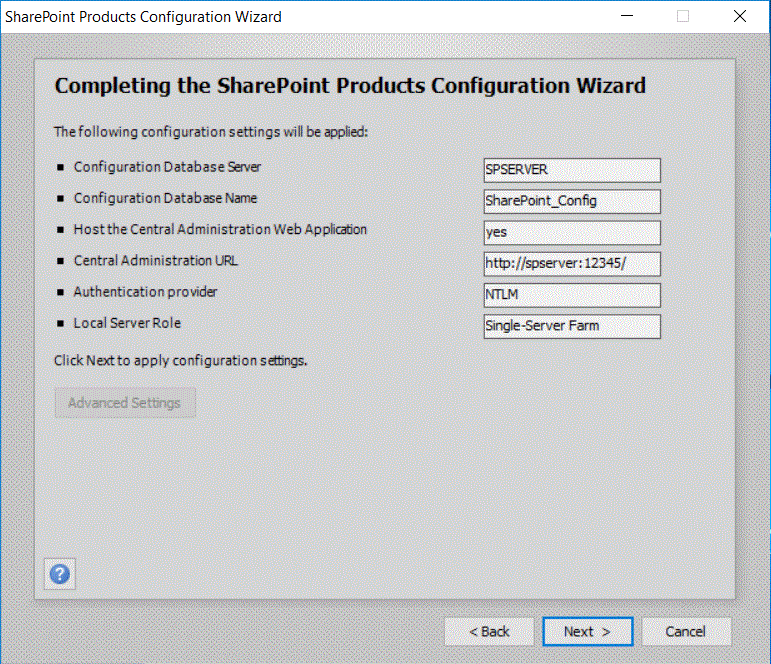
A prompt will now appear asking to confirm the SharePoint Products Configuration.
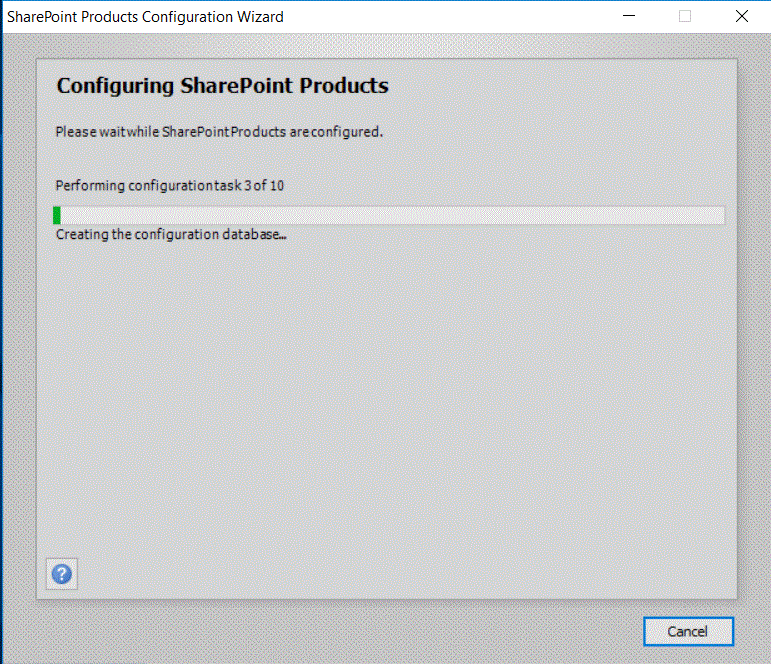
A window with a progress bar will appear as the system configures the SharePoint Products.
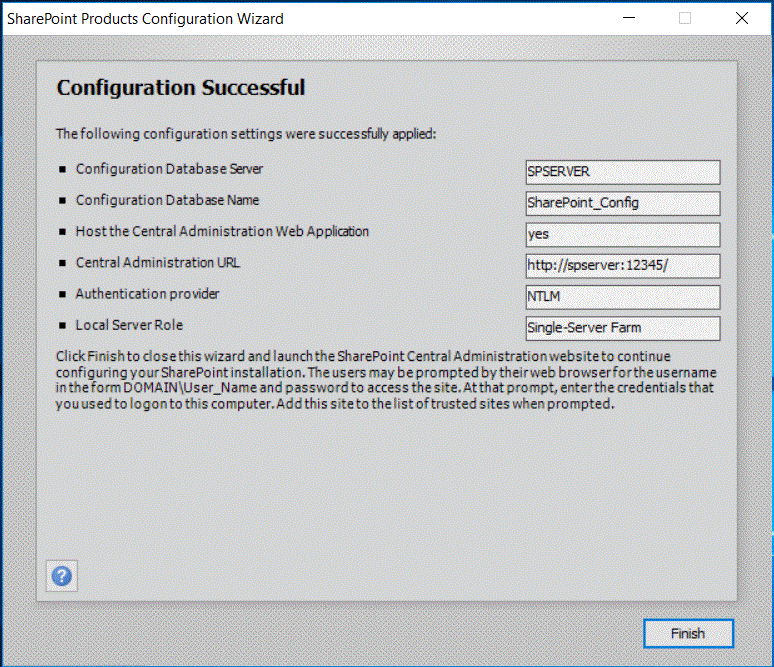
When the configuration is complete and there are no errors, a Configuration Successful window will appear.
After clicking finish, a username and password prompt will appear. After entering the username and password, the SharePoint Central Administration site appears in a web browser.
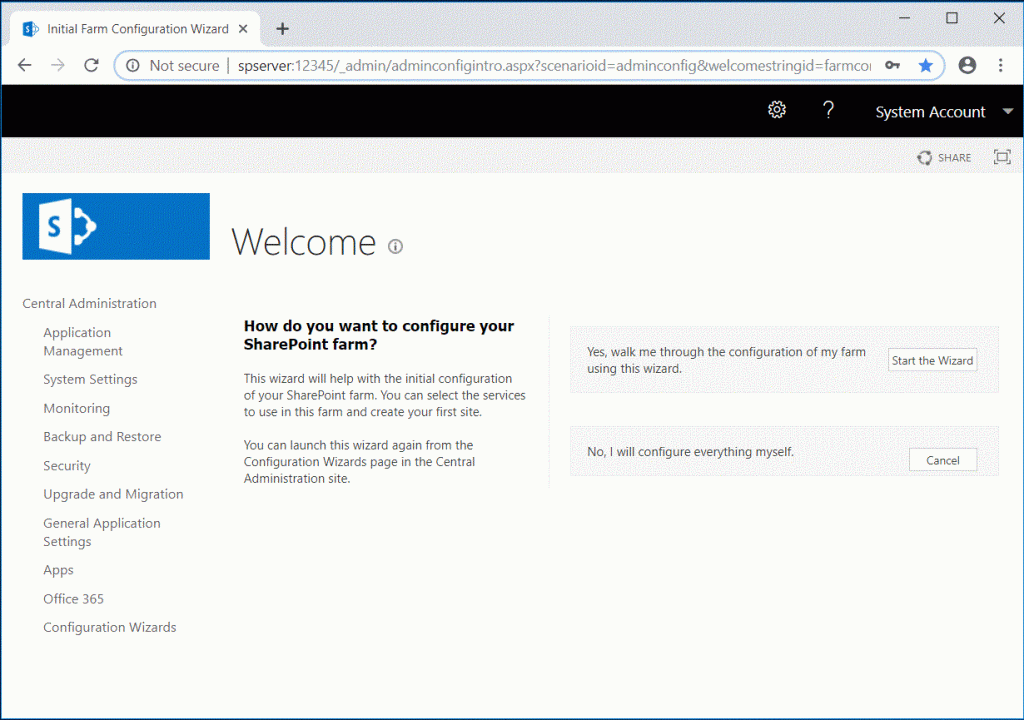
Click the Start the Wizard button and follow the prompts to configure the SharePoint Farm.
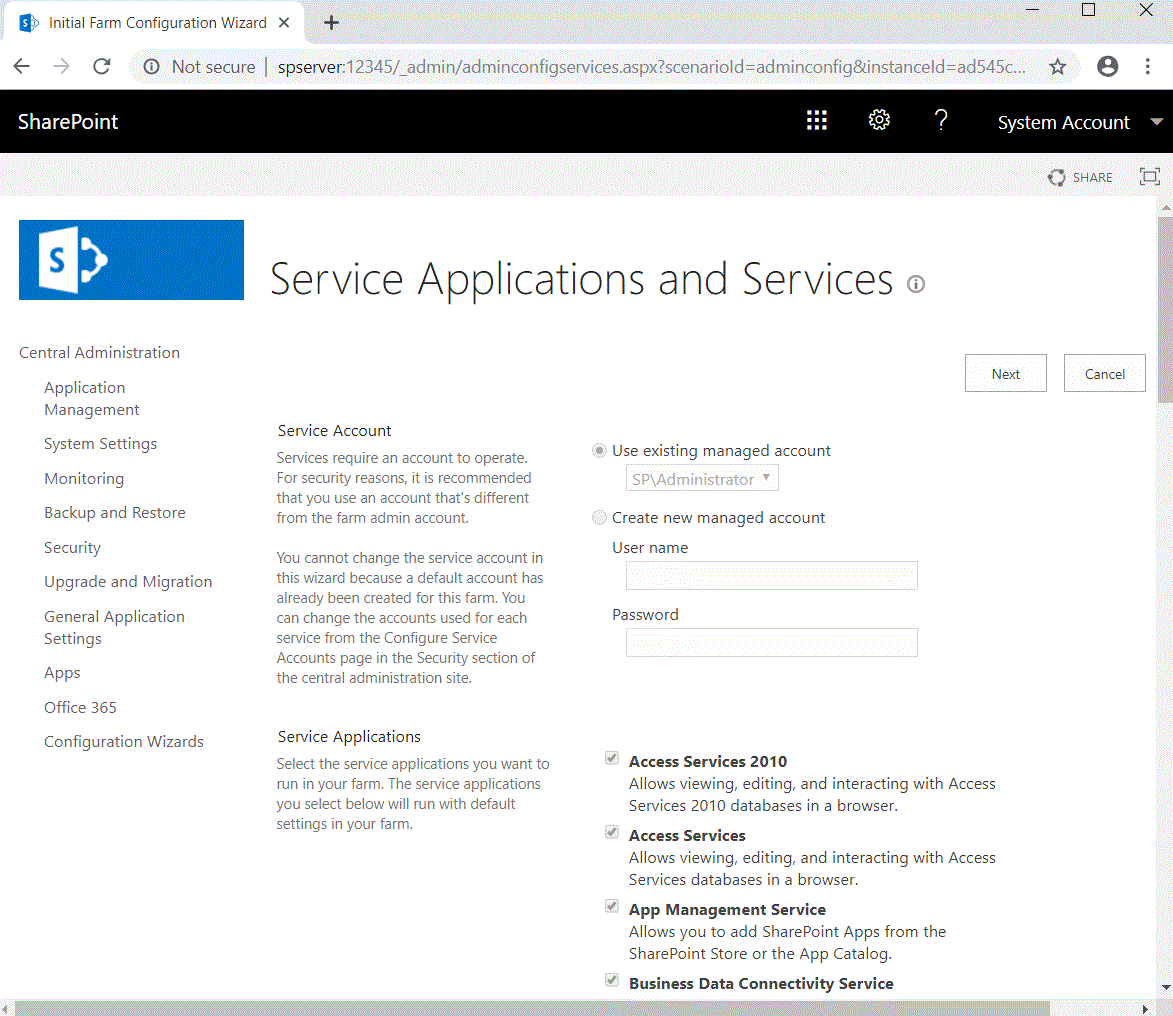
Next create a site collection. A site collection is just the term for all the sites under the homepage. The one created here is the second site collection created in this SharePoint installation.
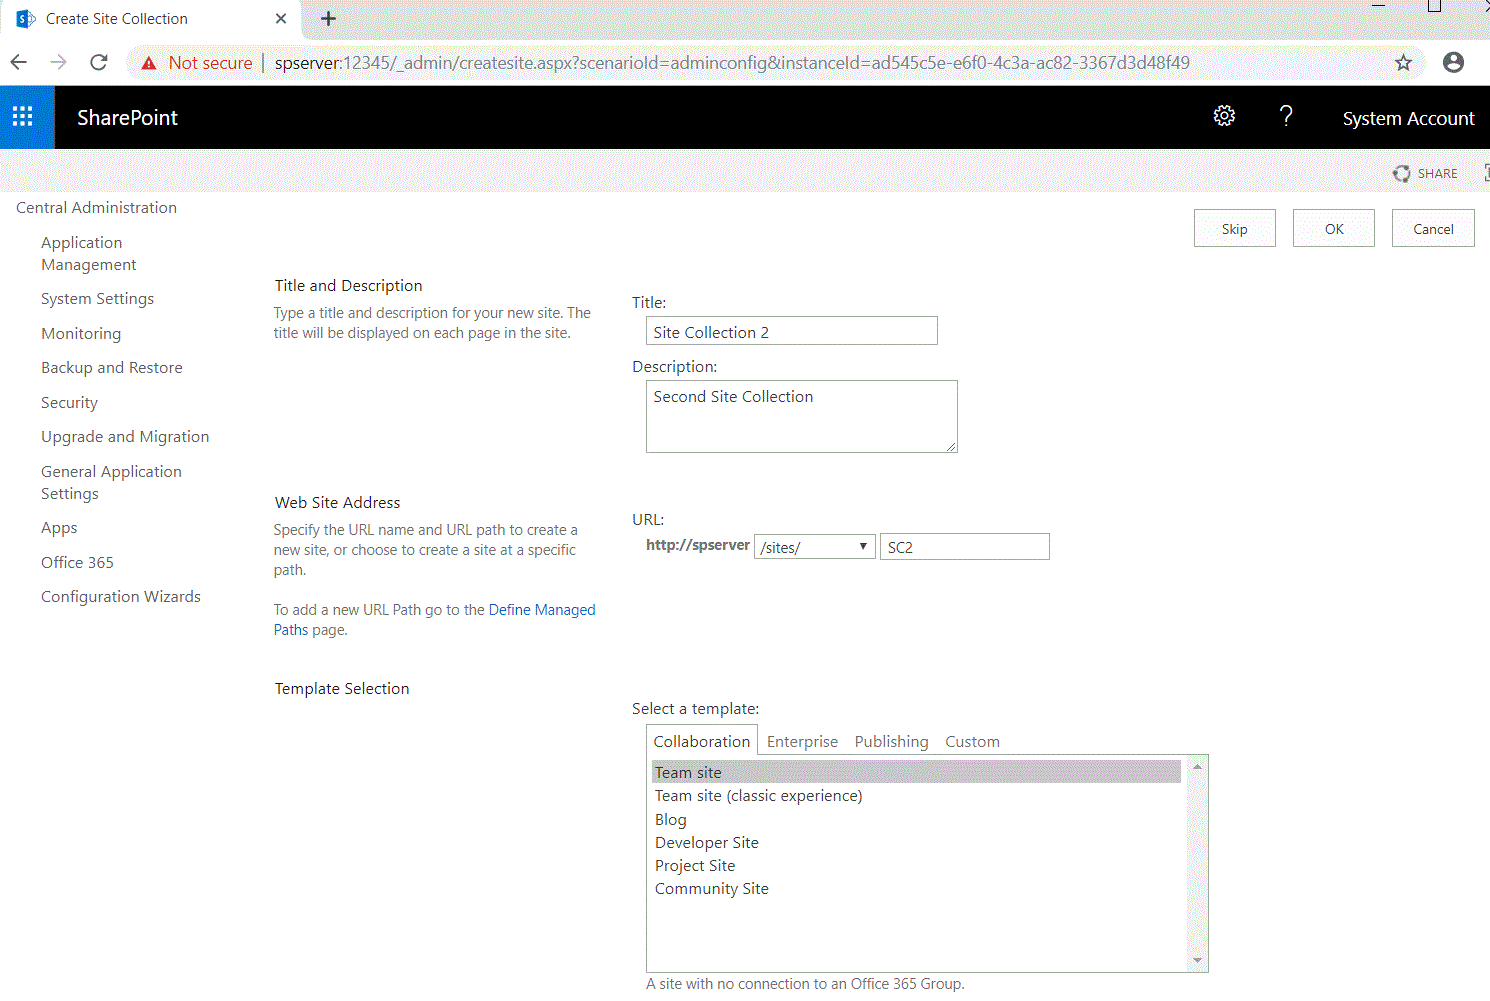
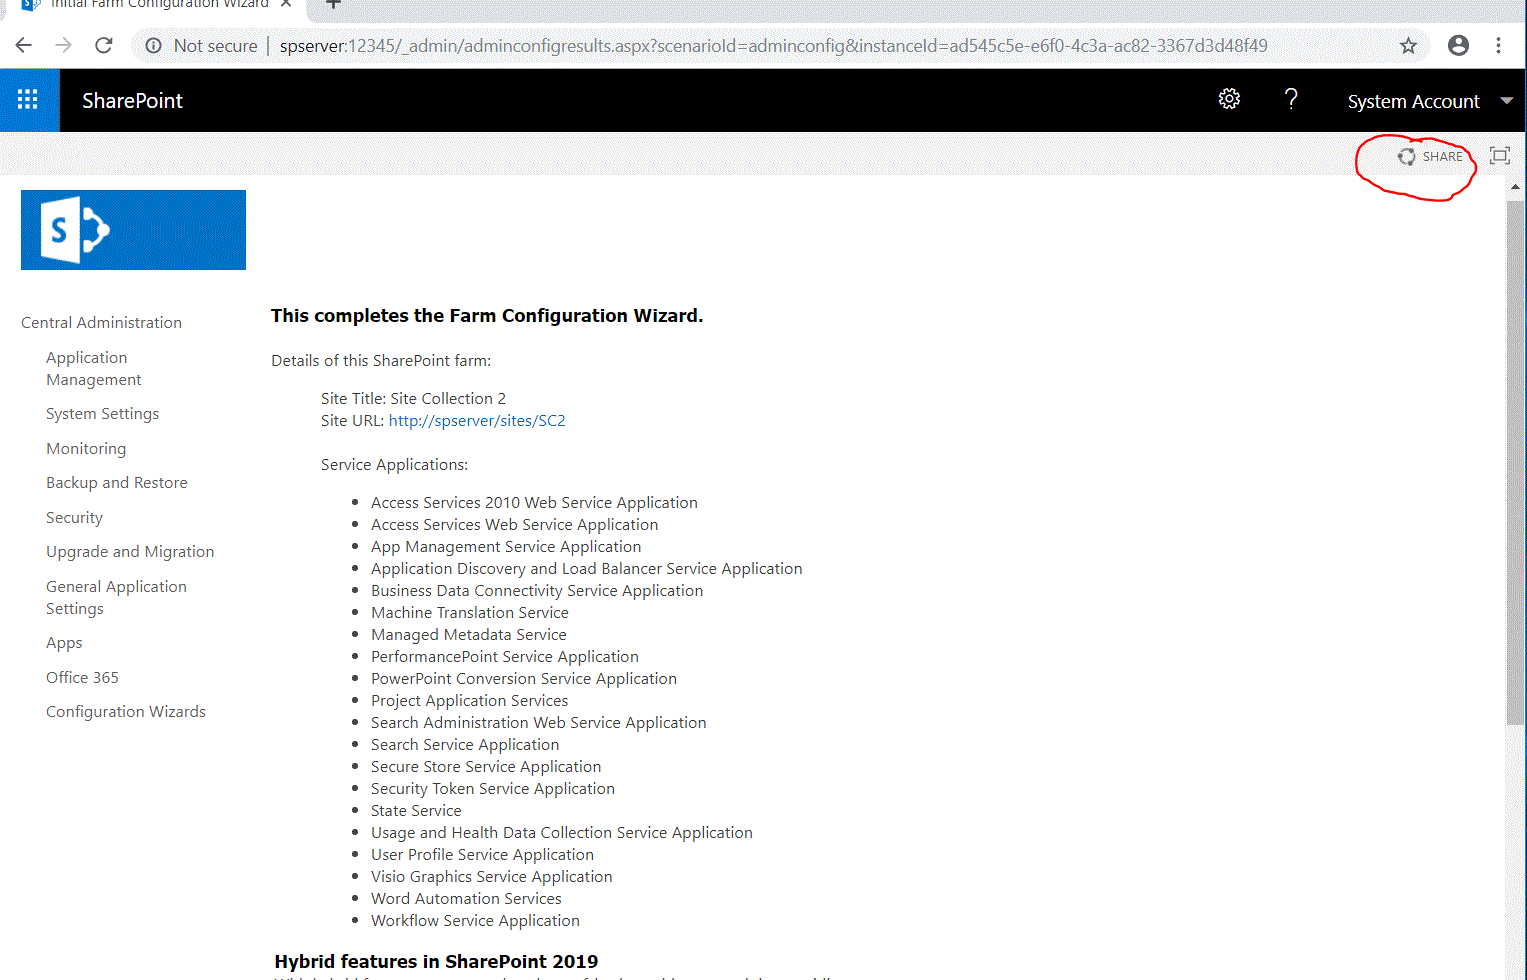
After clicking OK you will be notified that the configuration is complete. Note that until you share the site collection with users, no users will have access to it.
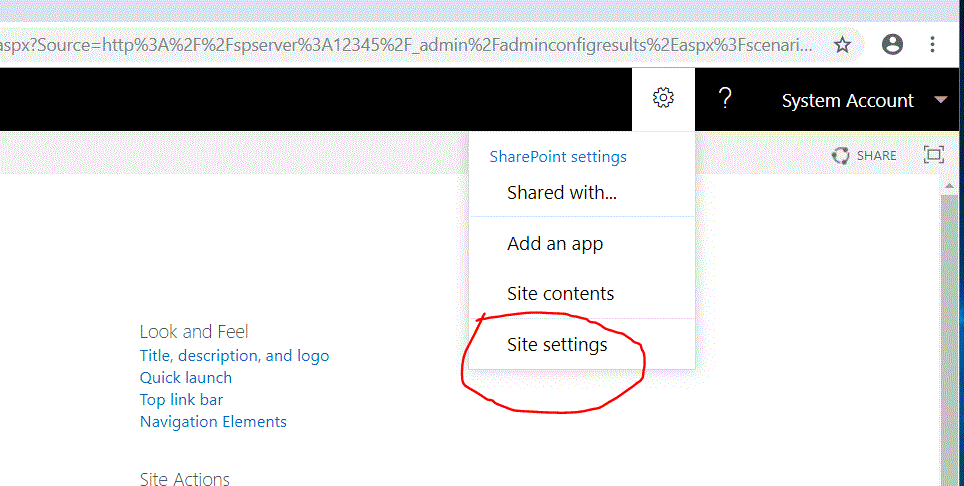
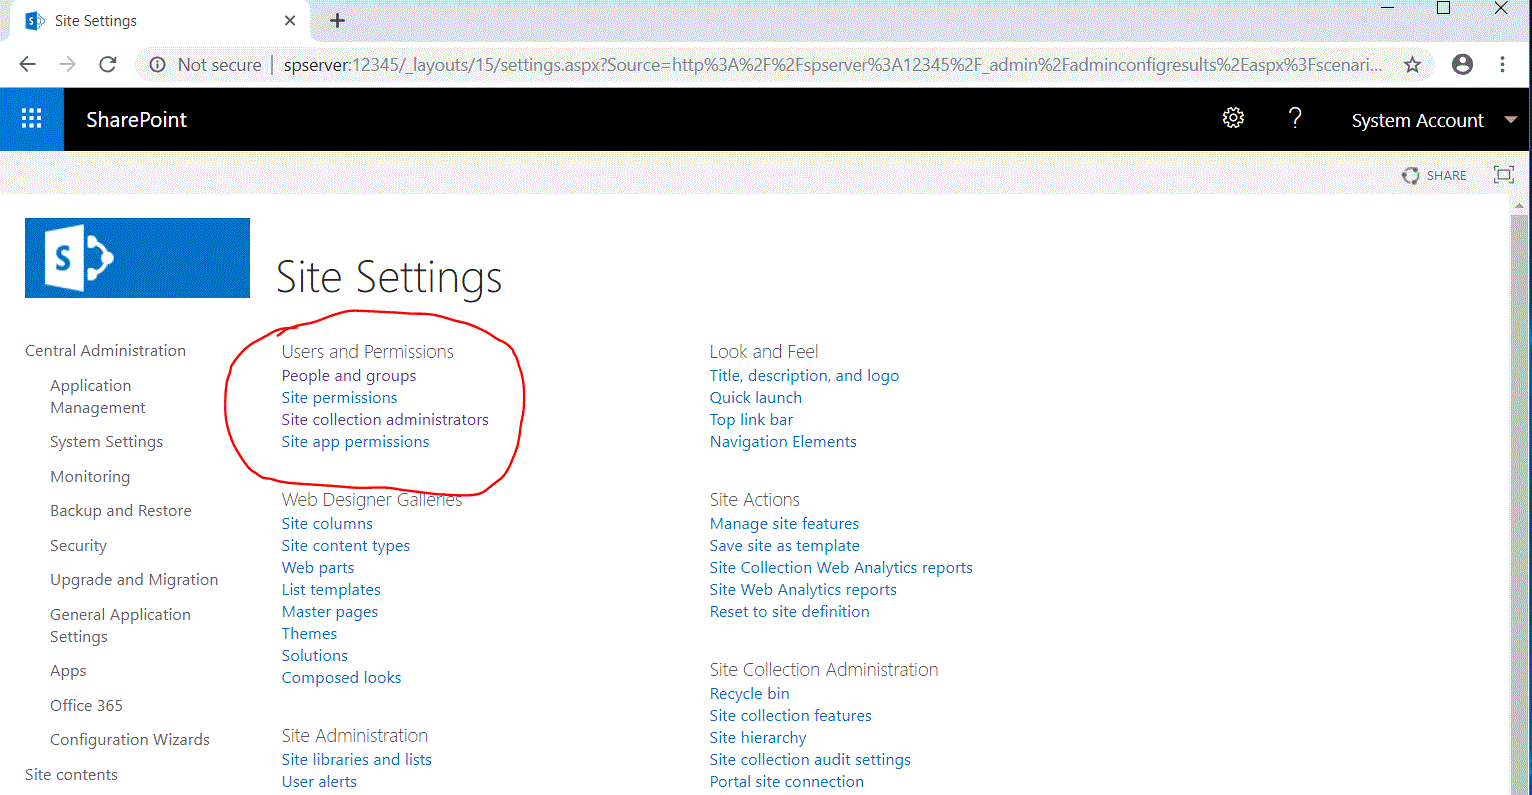
Prior to sharing pages, Users and Permissions in Site Settings settings should be configured by the SharePoint Administrator. Access to the Site Settings is found by clicking the gear icon >> Site Settings.
The Site Settings window loads. The circled links are the Users and Permissions settings that require configuration.
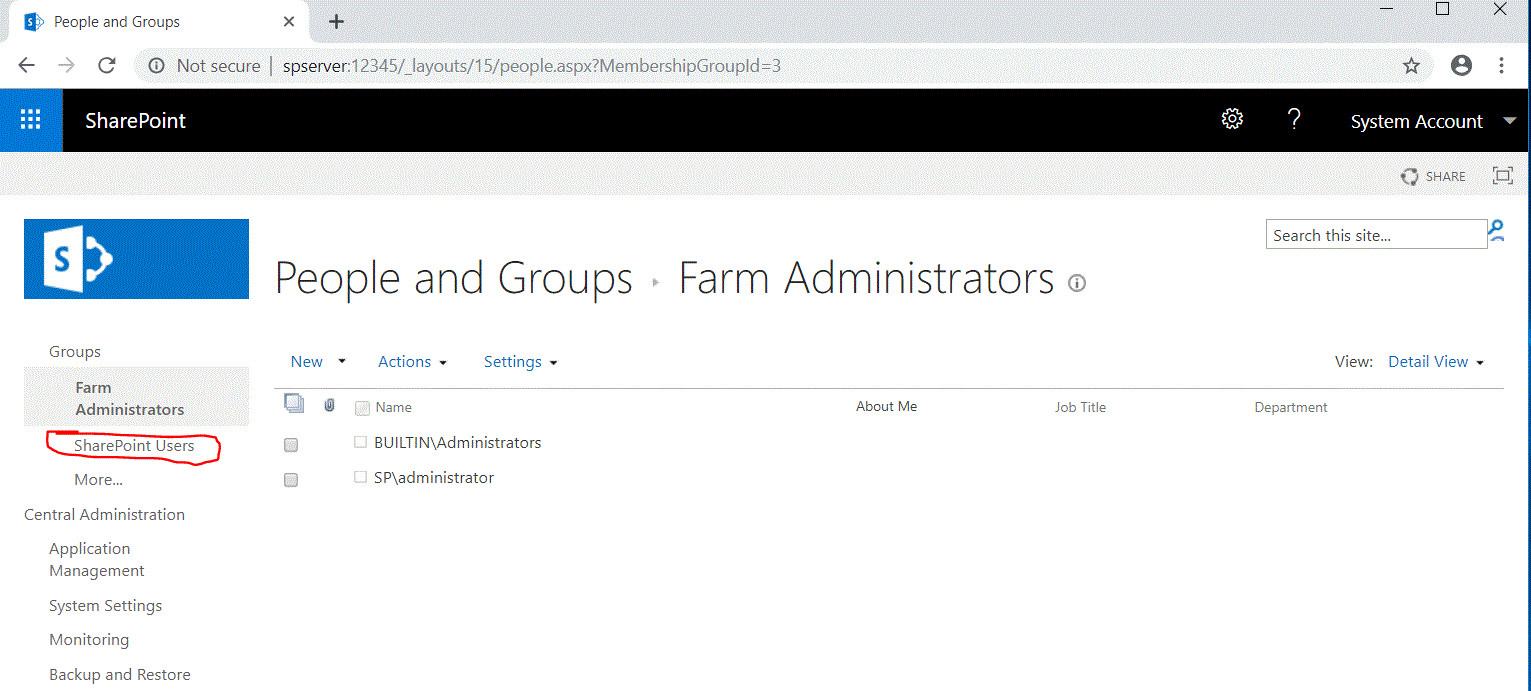
In the People and Groups Page, I’ve created a SharePoint Users group.
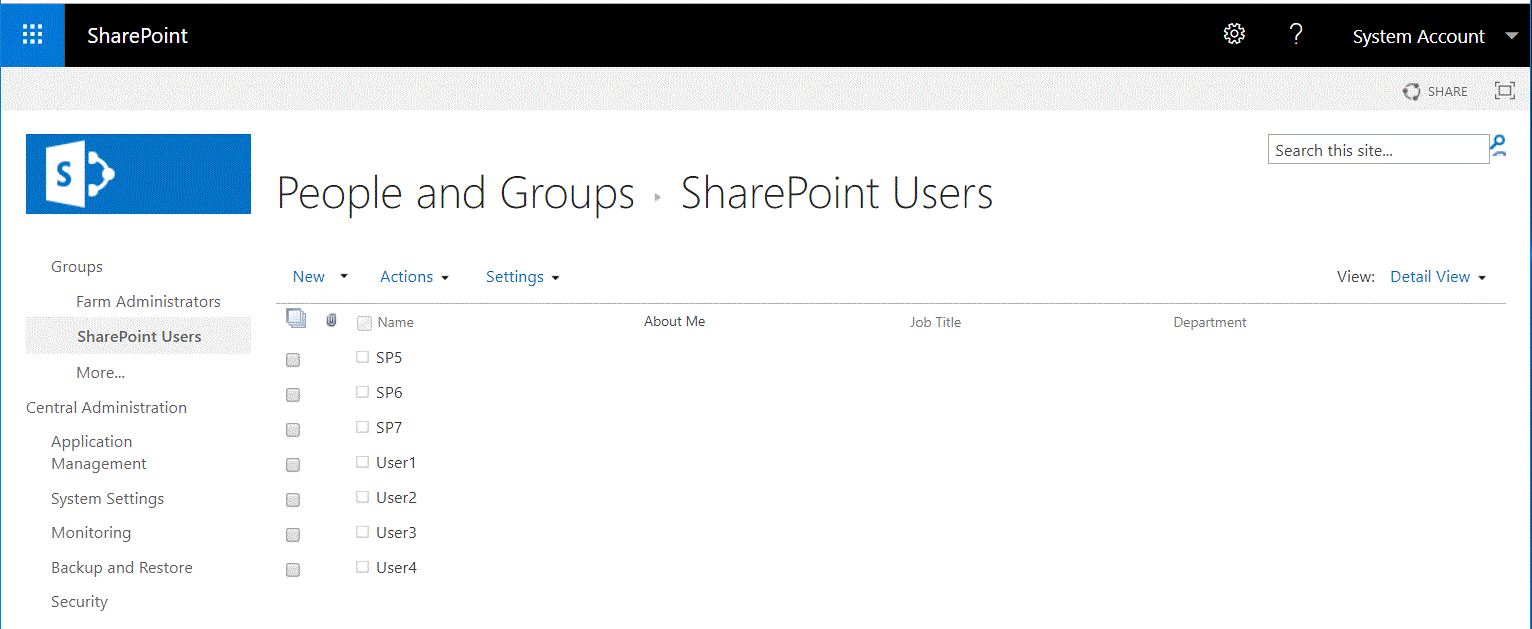
In the SharePoint Users group has been added all the SP Domain accounts.
To grant access to the site collection, click the share button. Start to type the username and users will show up below the field being typed in. Select the user you want to share with.
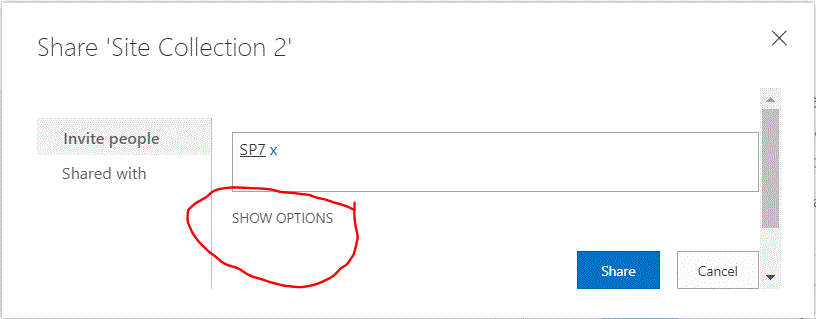
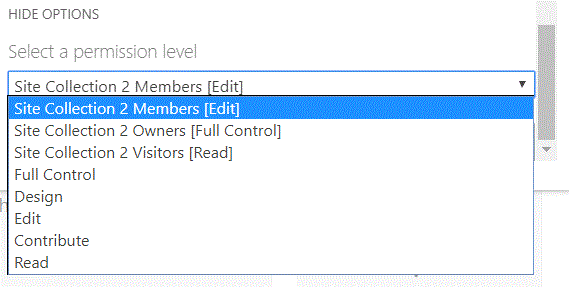
Click the SHOW OPTIONS link to select the permission level for the user(s).